Which brands make the best cameras for beginners?
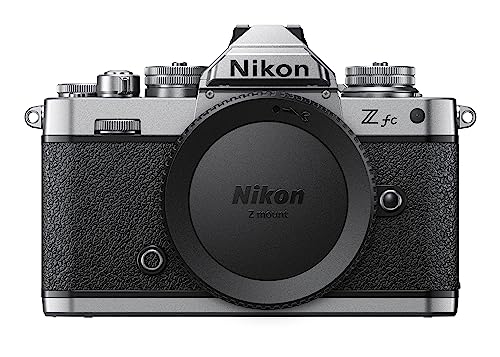
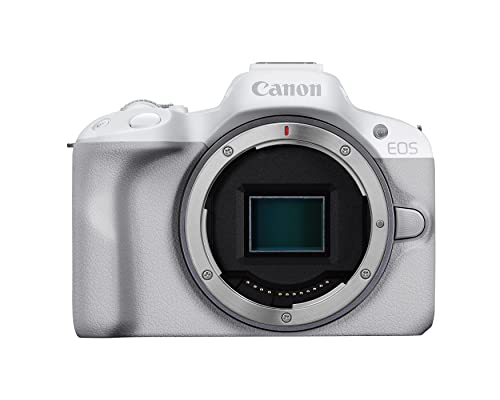
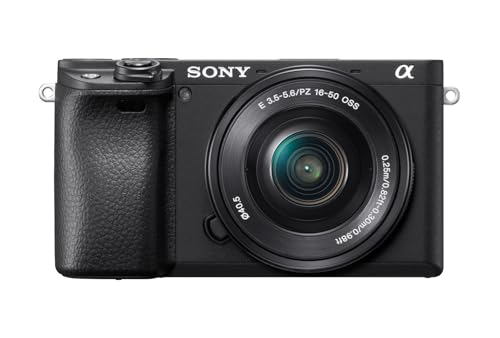
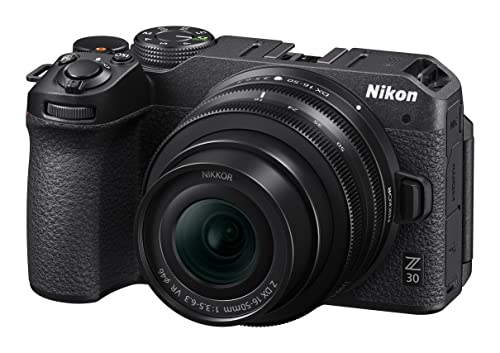
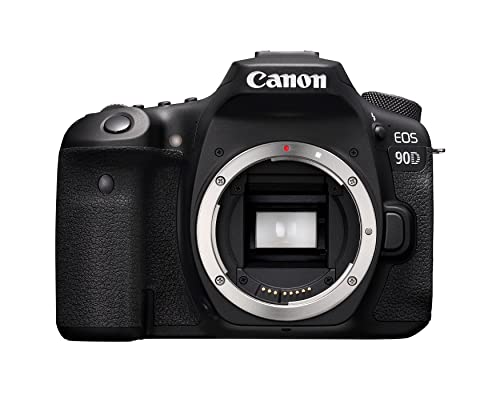
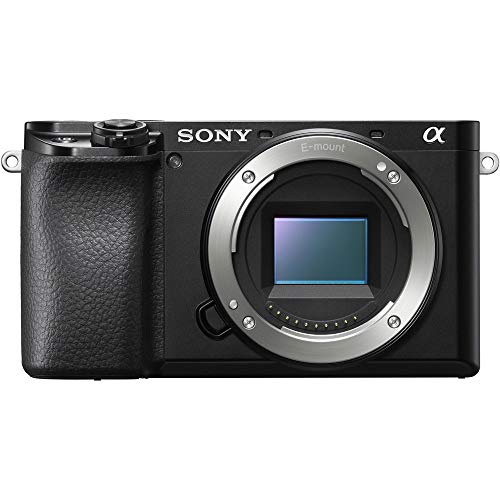
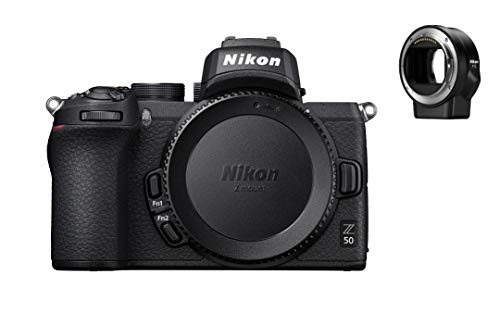
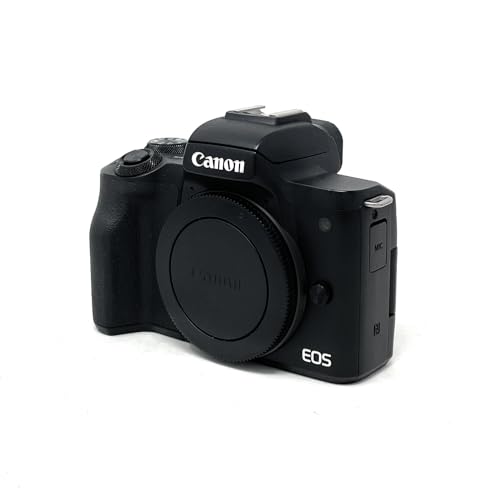
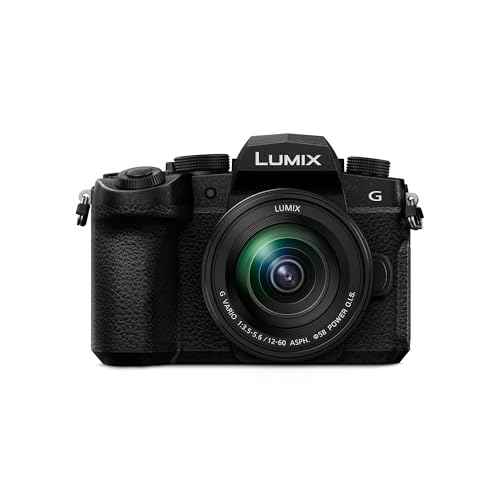
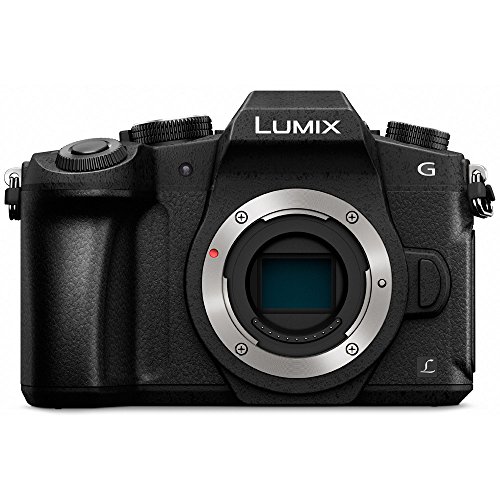
The leading camera brands for beginners are as follows:
- [shortcode-13646907876638838171052931866683602095052329917161] (Average overall score: [shortcode-01756154119143033141101422040625390448670128578343])
- [shortcode-08181151659023759706012375491653840239623471815543] (Average overall score: [shortcode-13262840493888050097022734278546910749142501630686])
- [shortcode-14668477891124977311007537616896435307740901841699] (Average overall score: [shortcode-03549011115566253131026326924836267067581436144578])
The chart below compares camera brands for beginners by average overall score.
[horizontal-chart-11439997528899748429170390884347774294411101801275]
What makes a camera suitable for beginners?
A camera is suitable for beginners when it removes avoidable obstacles but still provides room to learn photography. The body should feel comfortable, the menus and exposure information should be understandable, and automatic modes should produce dependable results while aperture priority, shutter priority, manual exposure, and RAW remain available.
Purchase fit matters as much as specification. A compact body around 350–600 g is easier to bring regularly, but it still needs a secure grip and controls large enough to use confidently; face and eye autofocus should handle family, pets, travel, and casual movement without constant intervention. A touchscreen that supports focus selection and menu navigation can shorten the learning curve.

The complete kit should stay within budget and remain useful beyond the first months. Check the price of a kit lens, spare battery, memory card, and the next lens likely to be needed, and favor a system with clear tutorials, dependable phone transfer, and enough battery life for a day of casual shooting.
How easy are cameras for beginners to learn?
Beginner cameras are easy to learn when their controls show a clear relationship between aperture, shutter speed, ISO, focus, and the resulting image. A live-view exposure preview, histogram, focus-point display, and touch selection give immediate feedback that a phone or fully automatic camera can hide.
Start with program or full auto to learn framing and timing, then move to aperture priority for depth of field and shutter priority for motion. Exposure compensation is the most useful early control because it brightens or darkens the image without requiring full manual operation.
Good guided modes can explain why the background becomes blurred or why motion freezes, but they should not be the only route to key settings. A well-labeled mode dial, one or two control dials, an accessible quick menu, and a customizable button make it easier to progress without relearning the camera.
Learning also depends on repetition. A lightweight camera with fast startup, reliable automatic focus, and simple phone transfer is more likely to be used often, while a technically stronger body that stays at home teaches very little. Beginners should expect a few focused practice sessions rather than instant mastery, but the camera should make mistakes understandable rather than mysterious.
What lens systems are best on cameras for beginners?
APS-C mirrorless systems are the best general lens choice for beginners because they combine manageable bodies, strong image quality, modern autofocus, and a growing range of compact lenses. Micro Four Thirds is especially attractive when low weight and affordable telephoto reach matter, while entry DSLR systems remain useful when low-cost lenses, an optical viewfinder, and long battery life have priority.
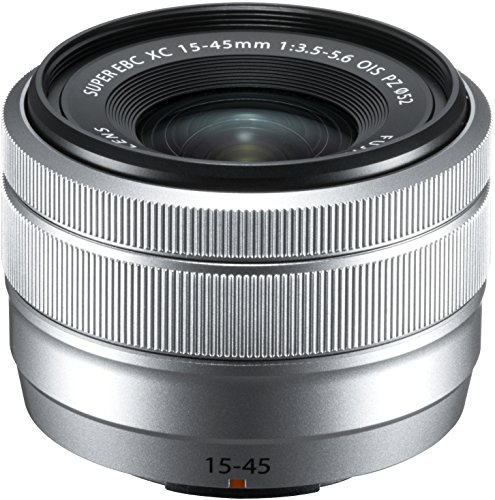
Begin with a stabilized kit zoom such as 15–45 mm, 16–50 mm, 18–55 mm, or 12–32 mm, depending on the sensor format. It covers everyday wide-angle through short-telephoto views and helps the photographer discover which focal lengths are used most, though its typical f/3.5–5.6 aperture is limited indoors.
The first additional lens should solve a clear problem. A compact f/1.7–f/2 prime improves low-light photography and background blur, a consumer telephoto serves sport and wildlife, and an ultra-wide lens helps interiors and landscapes. Check native lens prices before choosing the body, because mounts are not directly interchangeable and a cheap camera can become expensive if the needed lenses are scarce.
How much do cameras for beginners cost?
New cameras for beginners generally cost about £300-£1,000 with a basic lens, while body-only prices can appear lower. Entry kits around £300-£600 usually provide an APS-C or Micro Four Thirds sensor, automatic and manual exposure modes, RAW capture, face autofocus, and a compact zoom lens.
Around £600-£1,000, buyers can expect stronger subject tracking, better electronic viewfinders or screens, faster bursts, improved controls, 4K video with fewer restrictions, and sometimes in-body stabilization or weather resistance. These features are useful for active families, pets, travel, and learners who expect to keep the body for several years.
Include the complete starting kit in the budget: a memory card, bag, spare battery, cleaning tools, and perhaps a brighter lens can add £130-£430. A balanced £600 kit that is comfortable and includes the right lens is a better learning tool than a £860 body that leaves no budget for optics or regular use.
The following chart shows the price distribution for these cameras.
[vertical-chart-09601465324482824855025823904603718965703510735097]
What image quality should cameras for beginners have?
Cameras for beginners should provide clearly better image quality and control than a phone without demanding professional-level technique. An APS-C sensor around 20–26 MP or a Micro Four Thirds sensor around 16–25 MP is enough for detailed prints, online sharing, and moderate cropping when paired with a suitable lens.
Resolution alone is not the priority. Reliable exposure, natural color, usable JPEG processing, RAW capture, and clean results at moderate ISO values help a learner succeed in varied light; a stabilized lens or sensor also improves static subjects at slower shutter speeds, though it cannot freeze a moving child or pet.
A good kit lens should be reasonably sharp across everyday focal lengths, but a bright prime can improve indoor quality more than a small increase in megapixels. Beginners should look for consistent autofocus and avoid judging quality only at 100% magnification: focus, light, timing, and lens choice usually affect the final photograph more than modest differences between current sensors.
Are mirrorless cameras better than DSLR cameras for beginners?
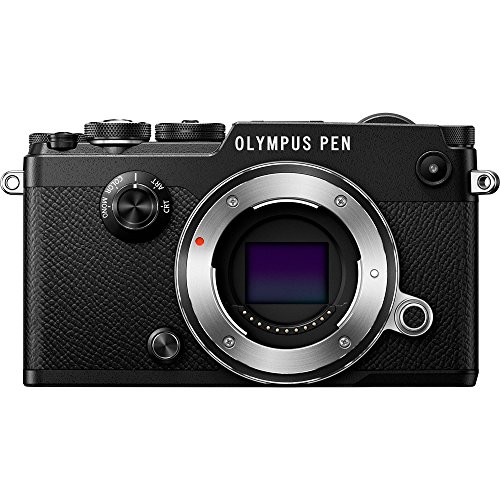
Mirrorless cameras are generally better than DSLR cameras for beginners because they show exposure and color in the electronic viewfinder or screen before the photo is taken, offer wider face and eye autofocus coverage, and usually provide stronger video and touchscreen operation. Their smaller bodies and direct visual feedback make cause and effect easier to understand.
Mirrorless is the stronger choice for family photography, travel, pets, video, and learners coming from a phone. The main limitations are shorter battery life, electronic-viewfinder power use, and lens systems whose affordable options vary by mount.
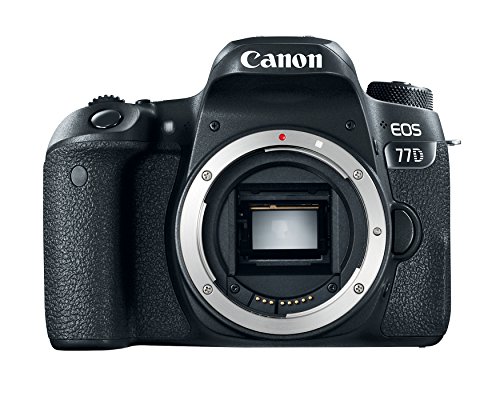
DSLR cameras remain good beginner tools when an optical viewfinder, comfortable grip, very long battery endurance, and access to inexpensive compatible lenses matter most. Their viewfinder autofocus may be concentrated near the center, and live-view focus or video can be less convenient on older entry models.
Choose the system that feels comfortable and has the lenses needed for the next few years. A beginner will learn exposure and composition equally well on either design, but mirrorless normally removes more technical friction for a first interchangeable-lens camera.
What controls and modes matter on cameras for beginners?
The controls and modes that matter most on cameras for beginners are as follows:
- Clear mode dial: Auto, program, aperture priority, shutter priority, and manual modes should be easy to select and identify. Scene modes can help at first, but the standard exposure modes are what allow steady progression.
- Exposure compensation: A dedicated dial or easy button-and-dial control lets the photographer brighten snow, darken a silhouette, or correct a misleading meter without entering manual mode. The current value should remain visible in the viewfinder or on the screen.
- Touch focus and autofocus selection: A responsive touchscreen should place the focus point, select a tracked subject, and navigate key menus. Confirm that touch operation remains available through the viewfinder and in video, because some cameras restrict it by mode.
- Face, eye, and subject tracking: Automatic detection improves portraits, pets, and family photographs, but the camera should also provide a simple single-point mode for precise control. Check how quickly it switches subjects and whether the tracking box makes the selected target clear.
- Aperture and shutter control dials: One dial is workable for beginners, while two dials make manual exposure faster and reduce button combinations. The grip and dial placement should remain comfortable enough to change settings without looking away from the scene.
- Exposure preview and histogram: Mirrorless cameras should show a useful preview of brightness and depth of field, while a live histogram warns about clipped highlights or blocked shadows. Learn to treat the preview as guidance because flash and very dark scenes may not display exactly like the final image.
- RAW plus JPEG capture: JPEG files are convenient for immediate sharing, while RAW files preserve more adjustment flexibility for later learning. Recording both is useful at first, but it increases card use and may reduce burst depth.
- Customizable quick menu: A short menu for ISO, autofocus, white balance, drive mode, and stabilization prevents constant searching through full settings pages. One or two custom buttons are enough if they can be assigned to the controls used most often.